How to Add Texture to Text in Figma Without Plugins
By Max — designer with 10+ years of experience in graphic and visual design. Founder of CRTV BLK, building plugins, effects, and resources for Figma designers.
Last updated February 2026
You can add texture to text in Figma without plugins by using image fills with blend modes, masking texture layers with your text, or using Figma's native texture and noise effects. Each method uses standard Figma features — no installs, no dependencies, and your files will render the same way on any device or browser.
This guide walks through three methods from simplest to most flexible, plus a shortcut for when you need production-ready results fast.
Why texture text in Figma instead of Photoshop?
The traditional workflow for textured typography meant designing layouts in Figma, exporting to Photoshop for text effects, then importing the flattened result back. That round-trip breaks editability, creates version control headaches, and makes simple text changes (like fixing a typo on a social media post) unnecessarily time-consuming.
Figma can handle most texture effects directly — grunge, distress, noise, grain, and ink bleed aesthetics are all achievable with native tools. Keeping everything in one file means your text stays editable, your team can collaborate in real time, and you're not paying for a second application just to rough up some type.
The trade-off is real: Photoshop still offers more granular control over texture blending, especially for photorealistic effects. But for the styles most graphic designers actually need — distressed posters, grungy album covers, noisy social graphics — Figma's tools are more than capable.
Method 1: Image fill with blend mode (fastest approach)

Texture courtesy Noita Digital, Unsplash
This is the quickest way to apply texture to text in Figma. It works by placing a texture image over your text and using a blend mode to merge them visually. Total time: under 2 minutes.
Step 1: Create your text layer. Use the Text tool (T) to type your headline. Choose a bold or heavy-weight font — textures show up best on thick letterforms. Set your font size to at least 80px for a visible effect.
Step 2: Apply a texture as an image fill. Select your text layer. In the Fill section of the right sidebar, click the color swatch to open the fill options. Switch the fill type from "Solid" to "Image." Upload or paste a texture image — concrete, paper grain, grunge overlays, or any high-resolution texture file works. Adjust the fill mode to "Fill" or "Tile" depending on your texture dimensions.
Step 3: Adjust the blend mode and opacity. With the text layer selected, find the blend mode dropdown within the Image Fill panel (it defaults to "Pass through" or "Normal"). Try these blend modes for different results:
Multiply — darkens the texture into the text. Best for grunge and dirt textures on light backgrounds.
Screen — lightens the texture. Best for adding light grain or noise to dark text.
Overlay — increases contrast between light and dark areas of the texture. Good for subtle, balanced distressing.
Soft Light — a gentler version of Overlay. Best for understated texture that doesn't overpower the type.
Start with Multiply at 40-60% opacity and adjust from there. Every texture image interacts differently, so experimenting with blend modes is part of the process.
When to use this method: Quick social media graphics, one-off poster designs, or any situation where you need quick, basic texture.
Method 2: Masking with a texture layer

Texture courtesy Marcel Strauss, Unsplash
This method uses Figma's masking feature to clip a texture image to your text shape. With masking, you achieve far more control than a basic Fill. It takes slightly more setup but it offers deeper customization options for designs that need quick revisions or additional effects.
Step 1: Create your text layer. Type your headline using the Text tool. Bold and heavy fonts work best, but this method works with any typeface.
Step 2: Place your texture image. Import a texture image onto the canvas (drag and drop, or use Place Image). Position it above the text layer so it fully covers the text. The texture needs to be at least as large as your text bounding box — if it's smaller, the effect will have gaps.
Step 3: Create the mask. Select both the text layer and the texture image. The text layer must be below the texture in the layer order. Right-click and select "Use as Mask" (or press Ctrl+Alt+M / Cmd+Option+M). Figma creates a mask group where your text shape defines the visible area of the texture.
You should now see the texture visible only inside the letterforms of your text.
Step 4: Refine the effect. To adjust intensity, select the texture layer within the mask group and lower its opacity. To blend the texture more naturally, change the texture layer's blend mode to Multiply, Overlay, or Soft Light. To reposition the texture, select the texture layer and drag it — the mask boundaries stay fixed to your text.
Step 5 (optional): Add a solid fill behind the texture. If you want the texture to overlay your original text color rather than replacing it entirely, duplicate your text layer before masking. Keep the original below the mask group as a base color, and set the masked texture layer to Multiply or Overlay. This gives you textured type that retains its base color with distress layered on top.
When to use this method: Client projects, brand assets, any design where the copy might change. The text stays editable — double-click the text layer inside the mask group and type new content. The texture automatically adapts to the new letterforms.
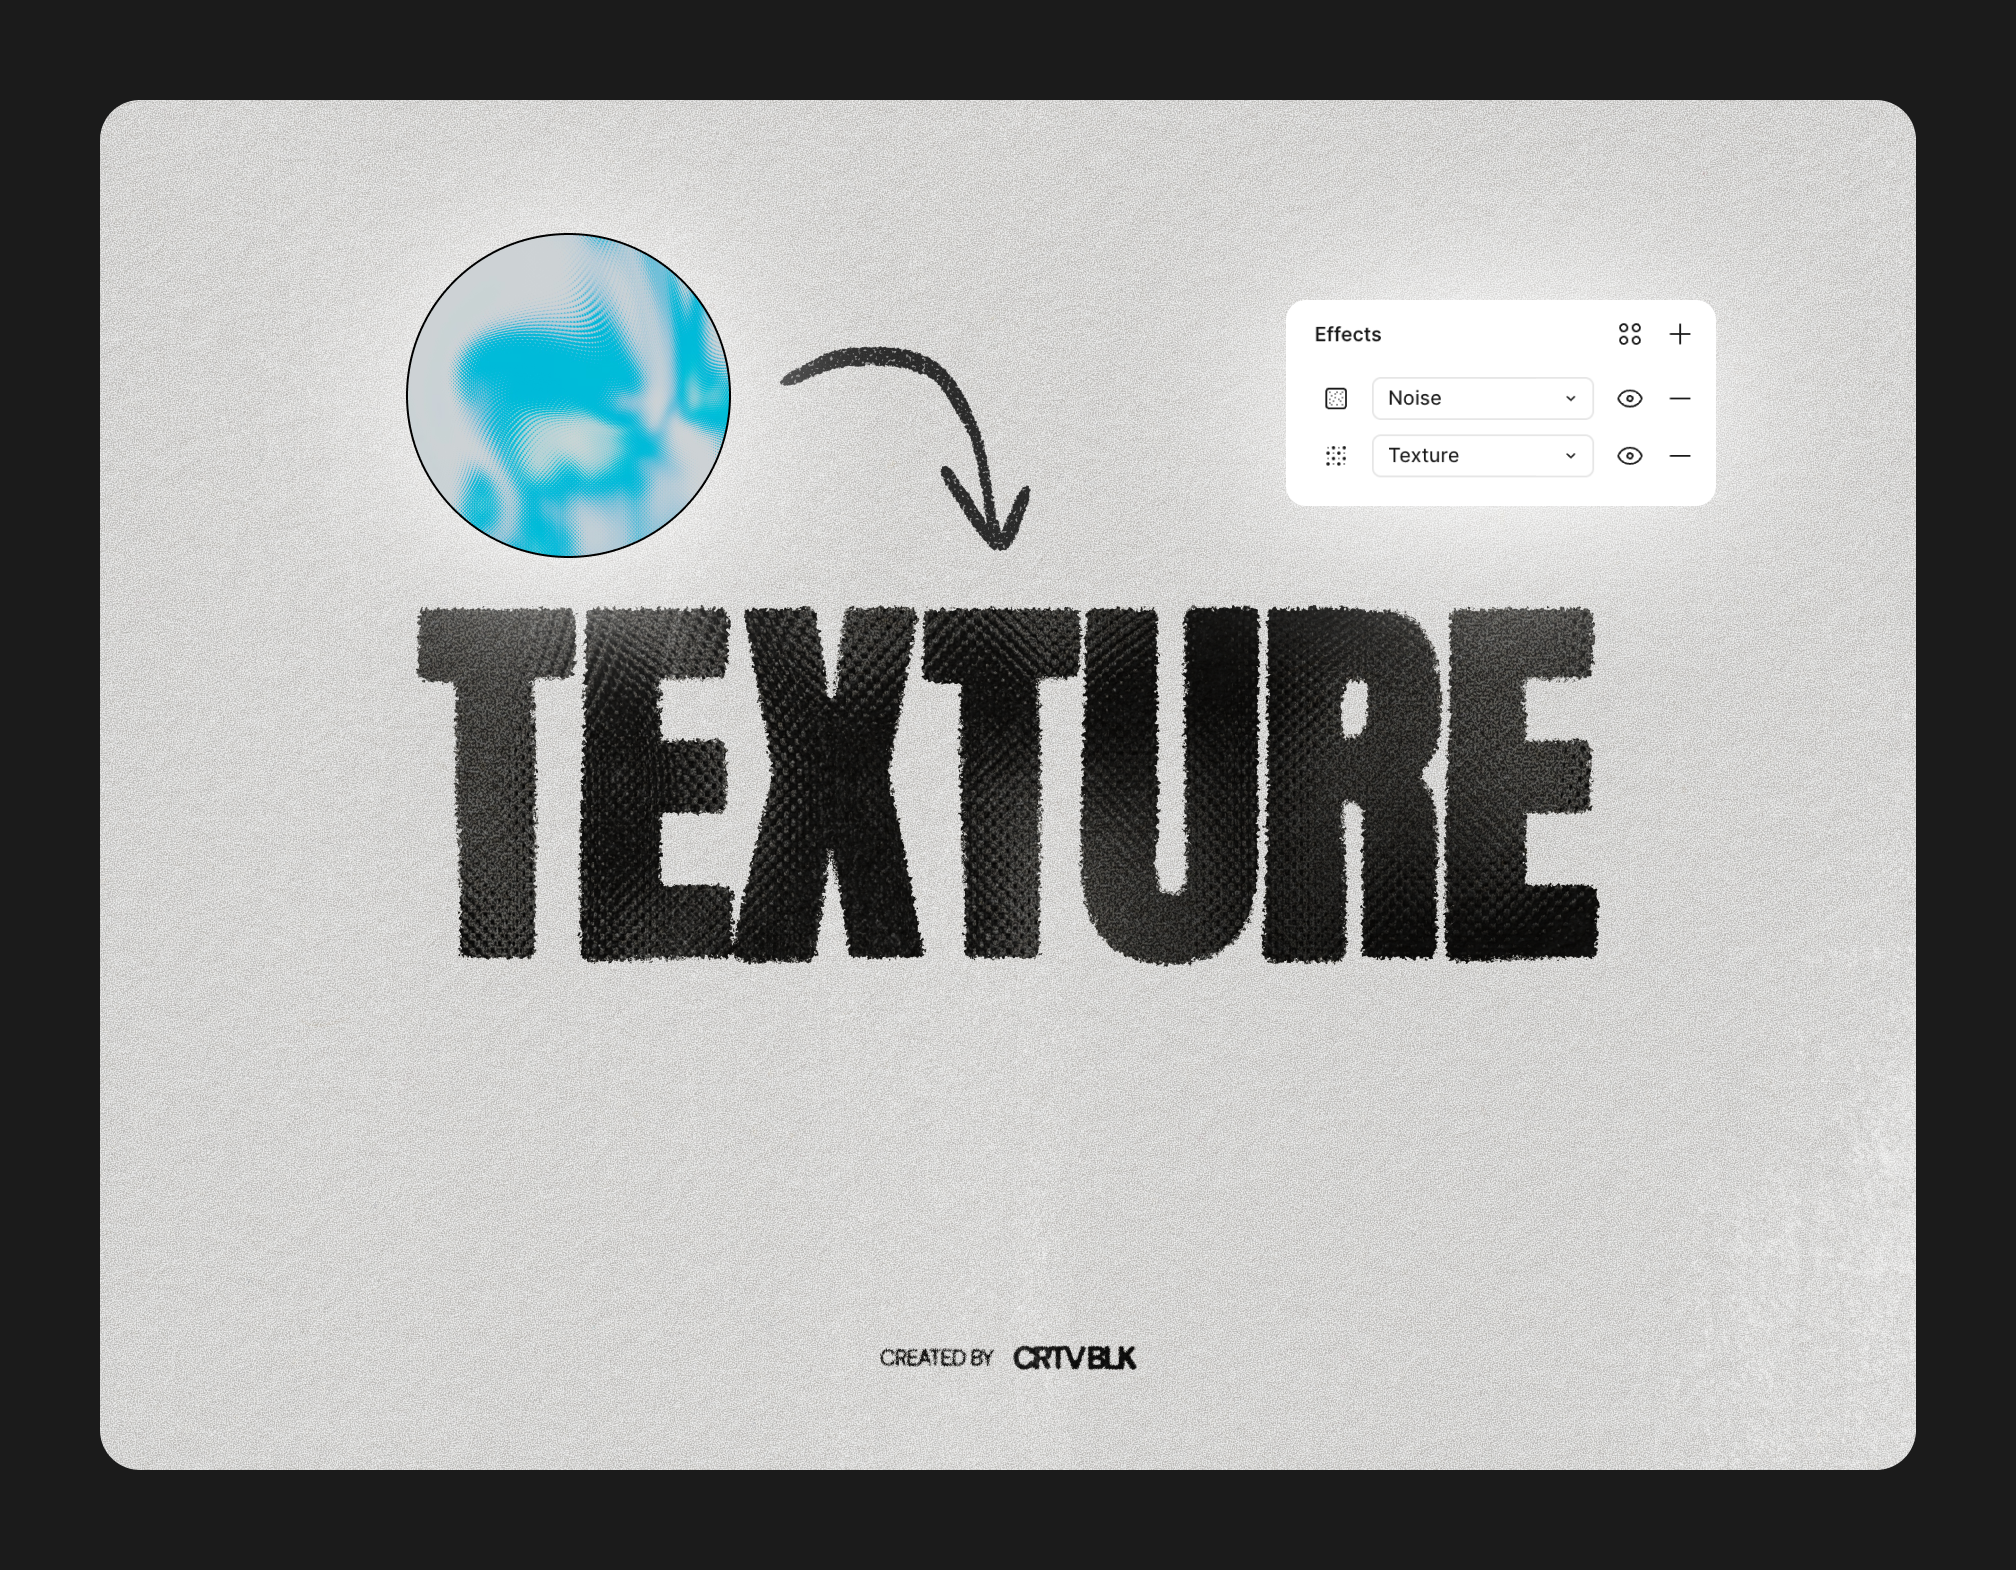
Method 3: Figma's native texture and noise effects (no images needed)
Texture courtesy Marcel Strauss, Unsplash
Figma added native Texture and Noise effects to its effects panel — these generate procedural textures directly on any layer without importing images. This is the cleanest approach for subtle grain and noise, though it's limited in its variability (most applications will look the same, save some minor differences through texture size and radius).
Step 1: Select your text layer. You don't need to flatten. Native effects apply directly to live text.
Step 2: Add a noise effect. In the Effects section of the right sidebar, click the "+" button to add an effect. Select "Noise" from the dropdown. Adjust the intensity — values between 5% and 20% add visible grain without overwhelming the text. Higher values create a more aggressive, static-like texture.
Step 3: Add a texture effect. Add another effect and select "Texture" from the dropdown. Figma generates a procedural texture that can be clipped to your text layer. Adjust the scale and radius to control how coarse or fine the texture appears.
Step 4: Combine with blend modes. For each effect, you can set a separate blend mode. Click the effect settings to expand options, then experiment with Overlay or Soft Light for more natural integration with your text color.
When to use this method: Adding subtle noise or grain to text in UI design, clean editorial layouts, or any project where you want a light texture without importing external assets.
Tips for better texture results
Use high-resolution texture images. Textures below 1500px wide will look pixelated when applied to large text. For print-quality work, use textures at 2000px or larger. Free texture resources like Unsplash, Textures.com, and Lost and Taken offer high-resolution options.
Match texture scale to text size. A fine paper grain texture applied to a 200px headline will be invisible. A coarse concrete texture on 14px body copy will be unreadable. Scale the texture to match the visual weight of your type — zoom to 100% and check that the texture detail is visible but not overpowering.
Layer multiple textures for depth. The most convincing distressed type uses two or more texture layers — for example, a subtle paper grain at low opacity plus a heavier grunge overlay at a higher blend intensity. Stack them with different blend modes for richer results.
Start with dark textures on light backgrounds. The Multiply blend mode makes white pixels invisible and darkens everything else, which means a dark texture on a light background gives the most predictable results. For light textures on dark backgrounds, use Screen instead.
Test at export resolution. Texture effects can look different at export than they do on canvas, especially at different DPI settings. Always export a test version at your target resolution (72 DPI for screens, 300 DPI for print) and check the result before finalizing.
The shortcut: pre-built Figma effect files
The methods above work well, but they require sourcing textures, experimenting with blend modes, and manually building the layer structure each time. For designers who need textured type regularly — album covers, event flyers, streetwear graphics, social content — that manual process adds up.
Pre-built .fig effect files package the entire technique into a ready-made frame. You open the file, swap your text into the effect layer, adjust color and intensity using labeled controls, and export. The layer structure, blend modes, and texture assets are already configured.
The CRTV BLK Text Effects Bundle takes this approach with three effects built on the techniques covered in this guide:
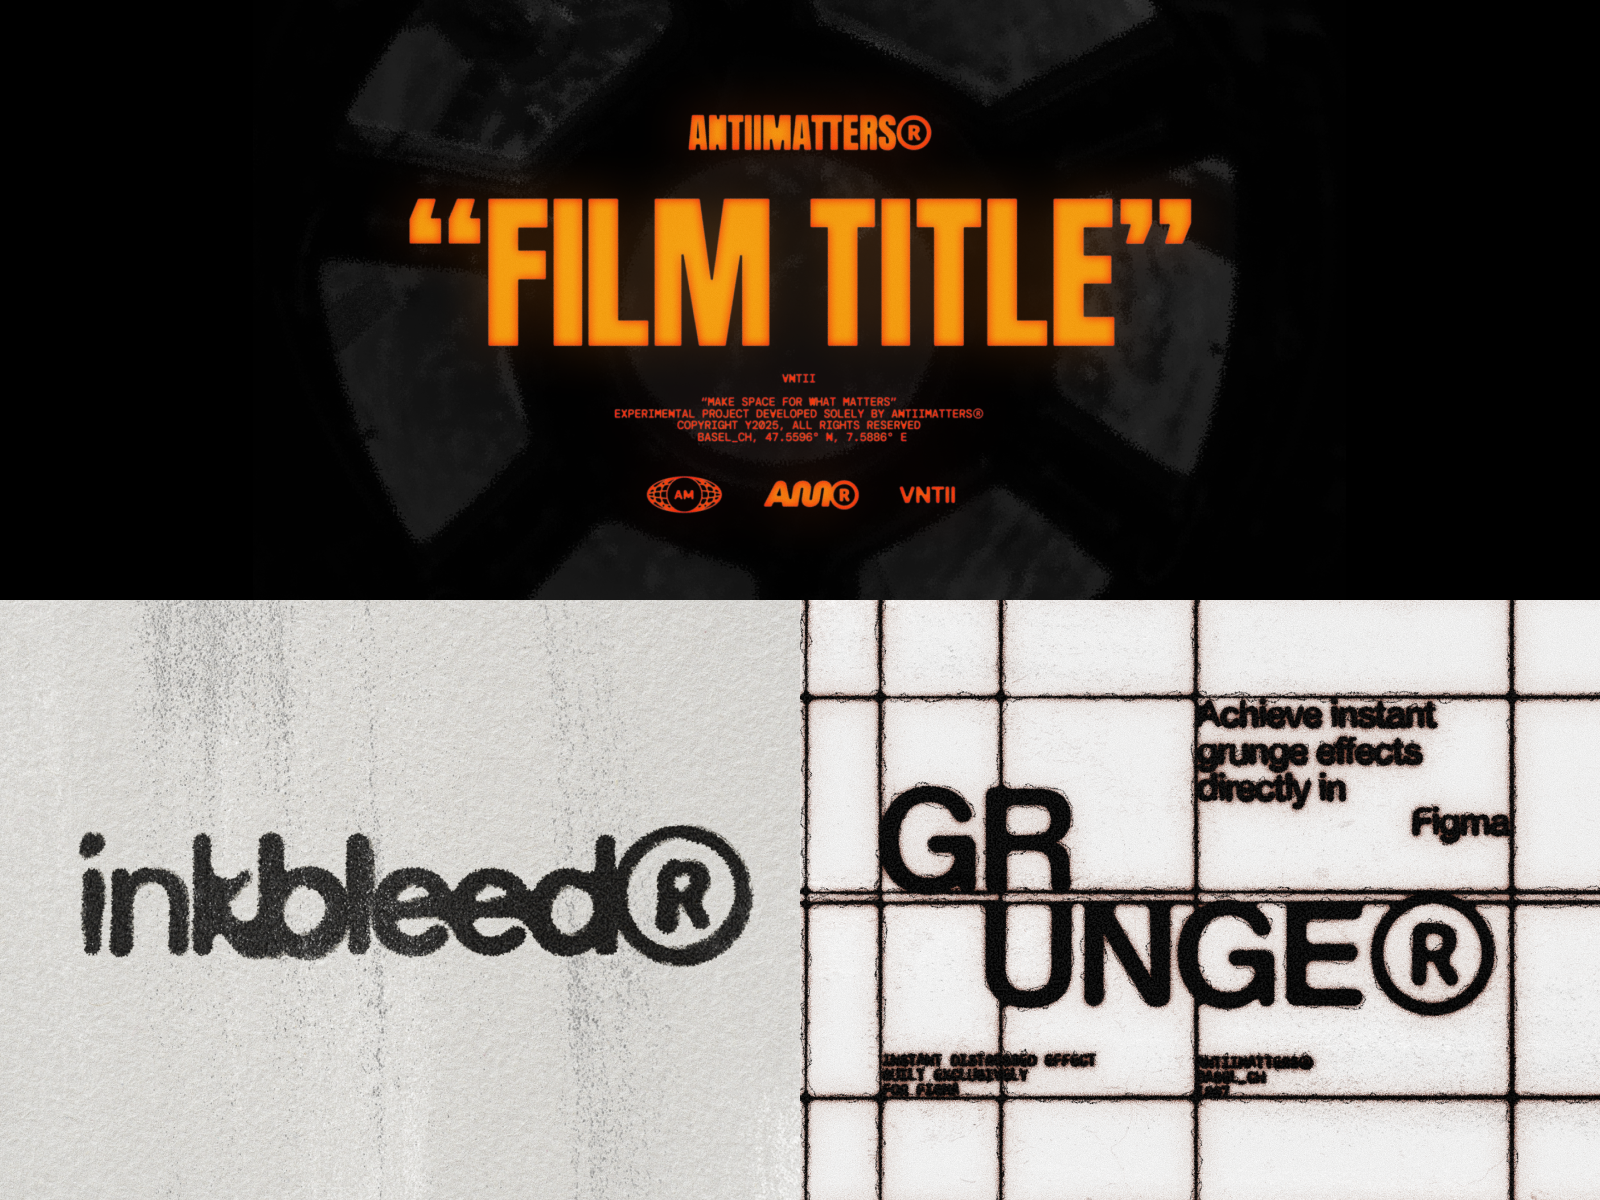
Film Title — cinematic glow built with stacked blur layers, color overlays, and blend modes (similar to Method 1's approach, but pre-configured for a specific Hollywood title card aesthetic)
Ink Bleed — photocopied distress using masked texture layers with adjustable intensity (based on the masking approach from Method 2)
Grunge — aggressive texture distressing using layered grunge overlays with blend mode mixing
All three use native Figma layers — no plugins. Every effect works with any font and keeps text editable. The bundle is $18 for all three, or $9 each individually.
Whether you build your own effects using the methods in this guide or use pre-built files, the underlying principles are the same: texture images, blend modes, and masking are the foundation of all textured typography in Figma.
Frequently asked questions
Does textured text export cleanly from Figma?
Yes, with one caveat. Export as PNG for pixel-perfect texture reproduction at any resolution. SVG export preserves vector text but may not render texture effects identically across all viewers, since blend modes and image fills can behave differently outside Figma. For print work, export at 2x or 3x resolution to ensure texture detail survives at 300 DPI.
Can I animate textured text in Figma?
Figma's native prototyping supports simple animations (position, opacity, scale) on textured text layers. For more complex text animation — like a texture that moves independently of the text — you'll need to export frames and animate in a motion tool like After Effects. Figma doesn't support independent layer animation within a mask group during prototyping.
What image formats work best for texture fills?
PNG is the safest choice — it supports transparency, which is critical for textures where you want only the dark elements to show and the white areas to disappear (use a PNG with a transparent background, then apply with a Multiply blend mode). JPG works fine for full-frame textures but doesn't support transparency. WebP is supported in Figma and offers smaller file sizes than PNG at similar quality.
Can I use these texture techniques on vector shapes, not just text?
Every method in this guide works on any Figma layer — vector shapes, icons, illustrations, frames, and groups. The masking and blend mode techniques are identical. The only difference is that Method 2 (masking) preserves text editability specifically because the text layer stays live underneath the mask.
What blend mode should I start with?
Start with Multiply if your texture is dark on a light background — it's the most predictable and widely useful mode for adding grunge, distress, or grain. Switch to Screen for light textures on dark backgrounds. Use Overlay or Soft Light when you want the texture to interact with the text color rather than replacing it. When in doubt, hover over each blend mode option in Figma's dropdown — it shows a live preview on canvas before you commit.
Want production-ready textured text without the manual setup? The CRTV BLK Text Effects Bundle includes three native-layer effects — glow, distress, and grunge — for $18. No plugins, any font, fully customizable. Browse all Figma effects →